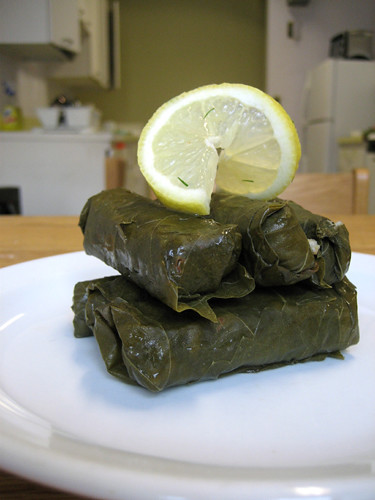
On Sunday the clocks went back an hour in Europe. I like fall, but I'm still getting used to darkness at 5pm. I never eat before 7pm, so I guess I'll just have to accept the fact that I'm going to have horrible, blurry, unnaturally lit food photos until March. Oh well.
Anyway, what I really wanted to talk about was salads.
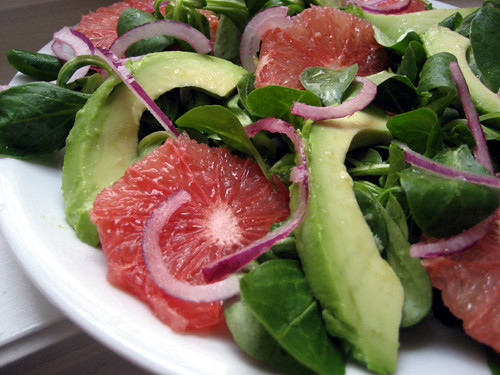
Just because it's fall doesn't mean you have to give up interesting salads until spring rolls around. No. Fall salads are just as fun and flavourful as summer salads. And no, I'm not talking about cabbage and potato salads! There are so many wonderful fall fruits and vegetables that are just begging to be put into salads....apples, pears, cranberries, squash, chicory, pomegranates, citrus....
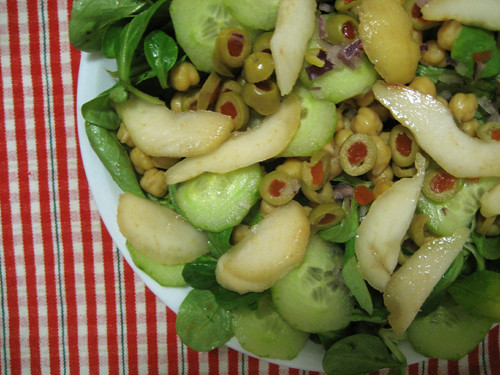
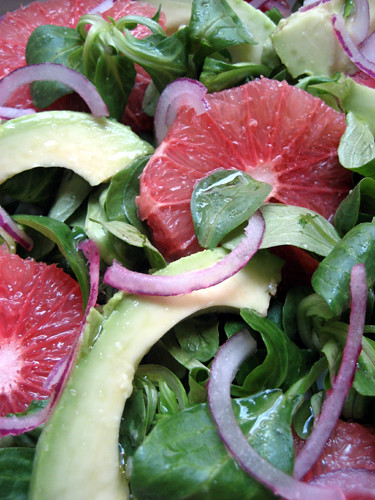
Anyway, for dinner tonight I had a tasty and colourful salad of mache, pears, and chickpeas with a pomegranate-green olive dressing. Yummy. I used mache because it's ridiculously cheap in Germany, but red leaf lettuce works beautifully too.
This combination of vegetables also works really well with dried cranberries and a balsamic vinaigrette.
I don't believe in measuring vegetables for salads, so I'll just give you approximations, because you should be experimenting with festive fall salads, too!
Mache, Pear and Chickpea Salad with Pomegranate-Green Olive Dressing
Mache - several large handfuls per person
Chickpeas - about 1 cup cooked chickpeas per person
Green olives with pimento - 10-12 olives per person
Pear - one small pear per person
Red onion
Other vegetables as desired - I used cucumber because I had to use some up
Pomegranate Dressing (recipe follows)
First things first: wash and dry the mache. Peel, core, and slice the pear. Slice the olives, red onion, and other vegetables, if using. In a large bowl toss the mache (only!) with most of the dressing. Put the dressed salad on dinner plates. Spread the chickpeas over the middle of the salad. Arrange the other ingredients on top, and drizzle with the remaining dressing. Enjoy!
Pomegranate-Green Olive Dressing
pomegranate molasses - about 2 tbsp
juice from the green olives - about 3 tbsp
water - about 2 tbsp
olive oil - about 2 tbsp
Mix all ingredients, adjusting to taste. You could also use unsweetened pomegranate juice instead of the pomegranate molasses and water.


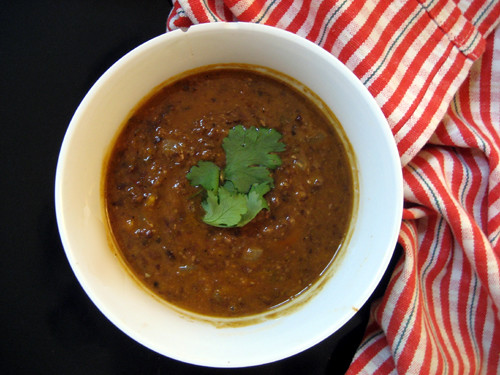


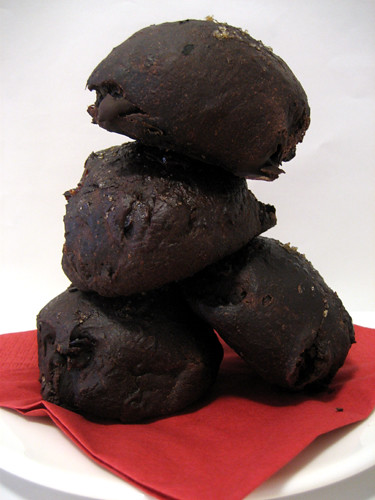
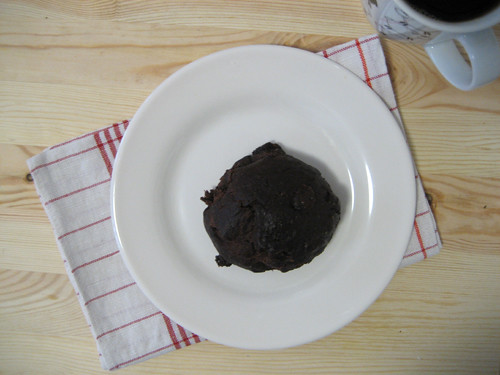
 (Tasty. But brown.)


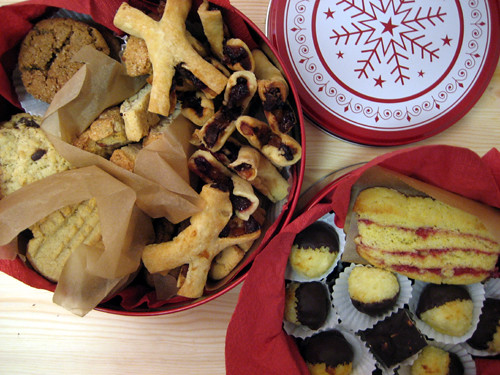
 Every day for a the month of November I'm going to write a post a day about something related to food as part of the


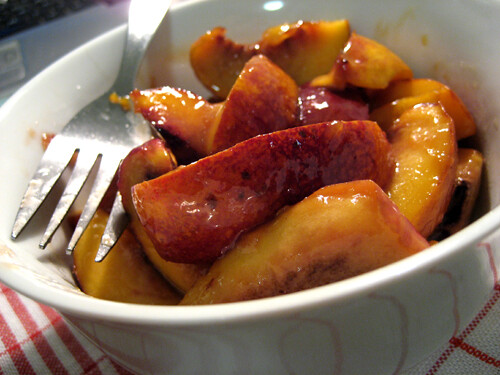 But for tonight I'll just post a part of my super-simple dinner from tonight. I don't really have a recipe, but if I did it would go something like this: take 6 or so nectarines (never mind if they're slightly tired looking from sitting in the fridge for a week), and slice them. Heat a bit of "butter" in a frying pan, and add a little raw sugar and a pinch of salt. Let the sugar melt into the butter for a minute. Toss in the nectarines and sautee for a few minutes. Done!
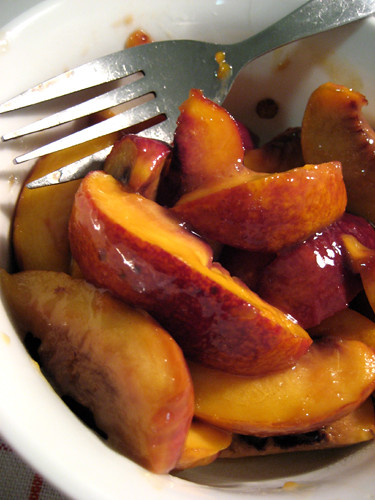
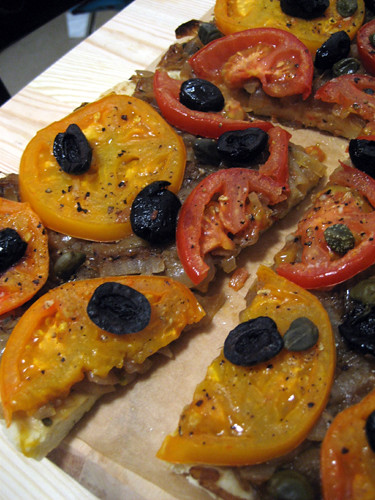
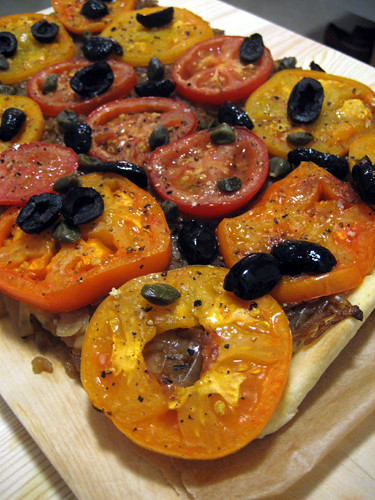 I also forgot to buy arugula, so I didn't make the salad that Suzanne Goin suggests. I made a balsamic reduction instead. (Boil balsamic vinegar until it is reduced by half, but not more, or else it will taste burnt.) But arugula salad would go really, really well, so make that to go with this!
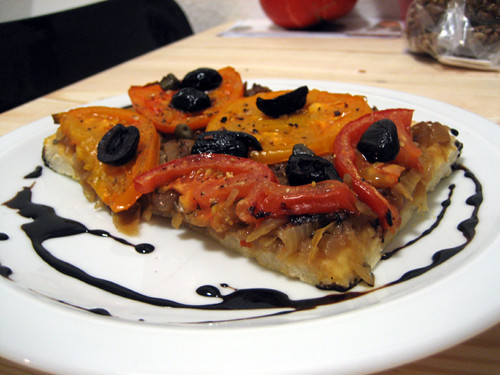

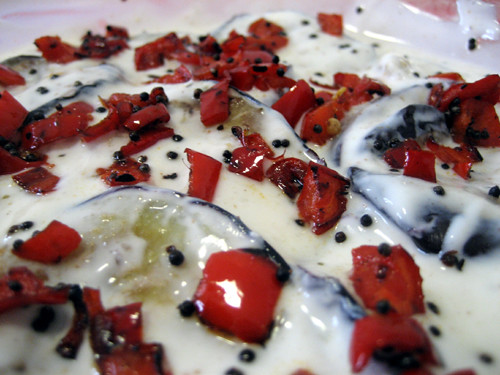
 Also-- salting the eggplant is optional. I think it does make eggplant less bitter, but I know not everyone agrees with me on this account. So do as you see fit.